Transfer Zoom recordings to OneDrive in Microsoft 365
There are two parts to transferring Zoom recordings to OneDrive in Microsoft 365.
Part one – Downloading Zoom recordings to a computer
- Open a web browser and go to Highlands.zoom.us
- Sign in with your SSO
- On the left of the screen choose Recordings
- Make sure you are in the Cloud Recordings tab
- Check the box on the left of a meeting. (Fig 1)
- Click the three dots to the right of the same meeting (Fig 1)
- Choose the download option (Fig 1)
- If prompted to download again click download (Fig 2)
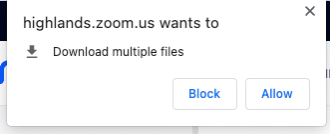
- If the browser prompts to allow the download choose to allow (Fig 3)
- This will download the recording to your downloads folder.
Note: Zoom recordings contain more than one file, an audio recording (m4a), a text recording (vtt) and a video recording (mp4) so choose to upload the ones you need.
Fig 1

Fig 2
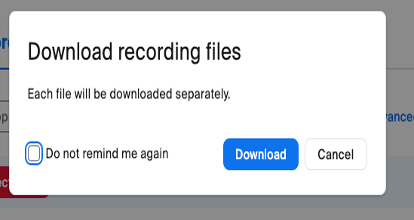
Fig 3
Part two – Uploading Zoom recordings to OneDrive in Microsoft 365
- Open a web browser and go to portal.office.com and log in
- Once logged in find and click on the waffle icon in the top left of the MS365 window
- In the list of apps find and click the OneDrive icon (fig 4)
- In the OneDrive Window on the left find and click on My Files (fig 5)
- On the left click the add new icon and choose folder and name the folder when prompted. (fig 6)
- Find and double click on the newly created folder to open it.
- Click on the add new button again and choose files upload then navigate to the downloads folder on the computer (fig 6)
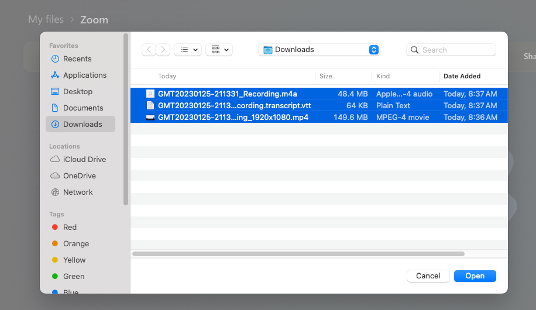
- Hold down the shift key while clicking to select multiple files to upload then click open. (fig 7)
- You will see a progress bar along the bottom of the screen that will prompt you when all files are uploaded.
Fig 4
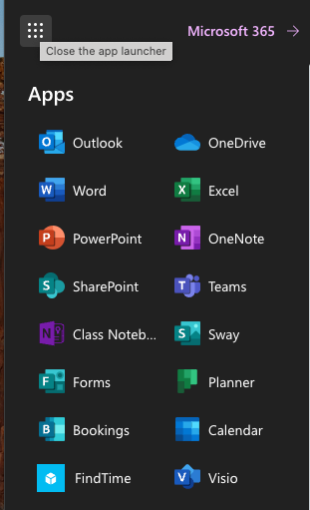
Fig 5
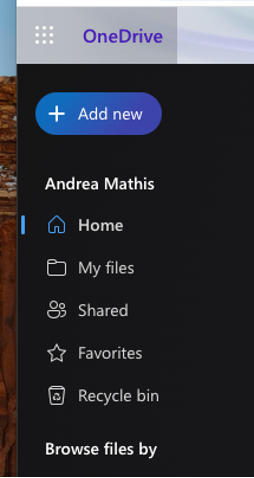
Fig 6
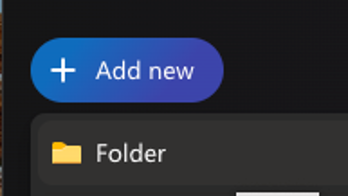
Fig 7