Sharing Documents With OneDrive for Business
Note: Always ensure that you’re using the OneDrive associated with your GHC email address. Personal OneDrive accounts do not offer the same level of protection for sharing files.
- Sign in to your Microsoft 365 account online at portal.office.com
- Click (or tap) on the OneDrive app.
- Click (or tap) on the Upload option in the OneDrive toolbar.
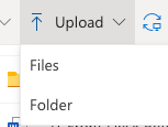
- Select your document(s) then click (or tap) open. The file will upload after a few moments and be available for sharing with OneDrive.
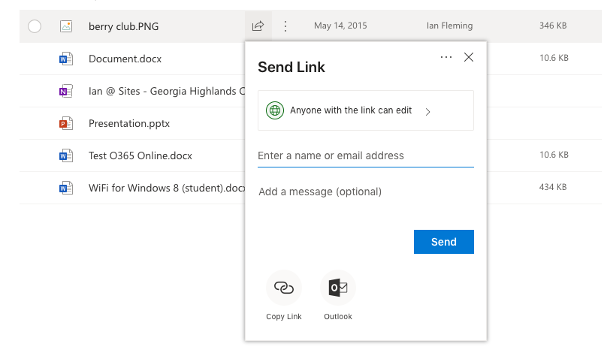
- For each file that you’d like to share, select the file then click (or tap) on the Send Link option that appears to the right of the file’s name.
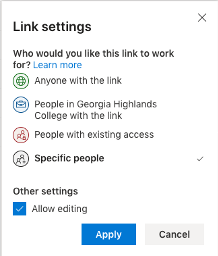
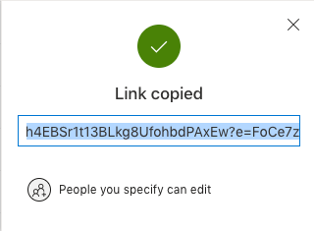
- Change the default sharing permissions from ‘Anyone with the link’ to ‘Specific People’ and click (or tap) Apply. You may choose to uncheck ‘allow editing’ if you’d like.
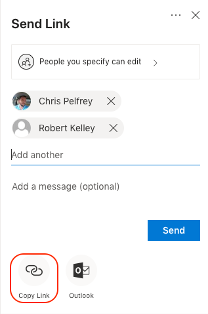
- Specify the individuals who should have access. Once you’ve included everyone, click on the Copy Link option in the bottom left corner of this window.
- Paste this link in an email message or chat message to your intended recipient(s).
- Once you confirm your intended recipients have downloaded the file, delete it from your OneDrive account. This important last step prevents a data breach from occurring if an attacker ever gains access to your account through a system compromise or other malicious activity.
Note: Student OneDrive accounts are de-provisioned and removed (along with student email access) two semesters after a student graduates or no longer attends classes at GHC.